Skip to main content
By Appointment to
Her Majesty The Queen
Grocer and Wine & Spirit Merchants
Waitrose Limited, Bracknell 
By Appointment to
His Royal Highness The Prince of Wales
Grocer and Wine & Spirit Merchants
Waitrose Limited, Bracknell 
Make something GOOD
Make something GOOD
Her Majesty The Queen
Grocer and Wine & Spirit Merchants
Waitrose Limited, Bracknell
His Royal Highness The Prince of Wales
Grocer and Wine & Spirit Merchants
Waitrose Limited, Bracknell
Visit Waitrose.com


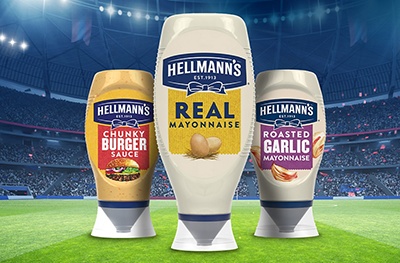
Up your BBQ game
Dollop on the Hellmann’s, Official BBQ Partner of the UEFA EURO 2024™️ tournament.
Make something GOOD

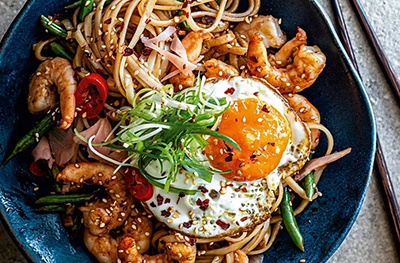
Grab your wok!
Try our quick and delicious stir fry recipes for supper tonight.

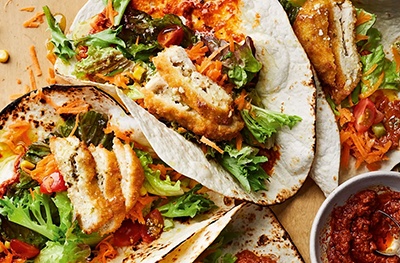
Supper made simple
Easy recipes with just four ingredients – dinner, done!

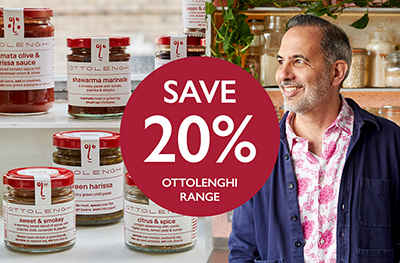
Add Ottolenghi magic
Bring joy to your kitchen with recipes using brand-new Ottolenghi sauces, pastes and spice blends – all exclusive to Waitrose and Ottolenghi delis.


Make something GOOD
Grab your wok!
Try our quick and delicious stir fry recipes for supper tonight.


Make something GOOD
Grab your wok!
Try our quick and delicious stir fry recipes for supper tonight.
Supper made simple
Easy recipes with just four ingredients – dinner, done!
Add Ottolenghi magic
Bring joy to your kitchen with recipes using brand-new Ottolenghi sauces, pastes and spice blends – all exclusive to Waitrose and Ottolenghi delis.


